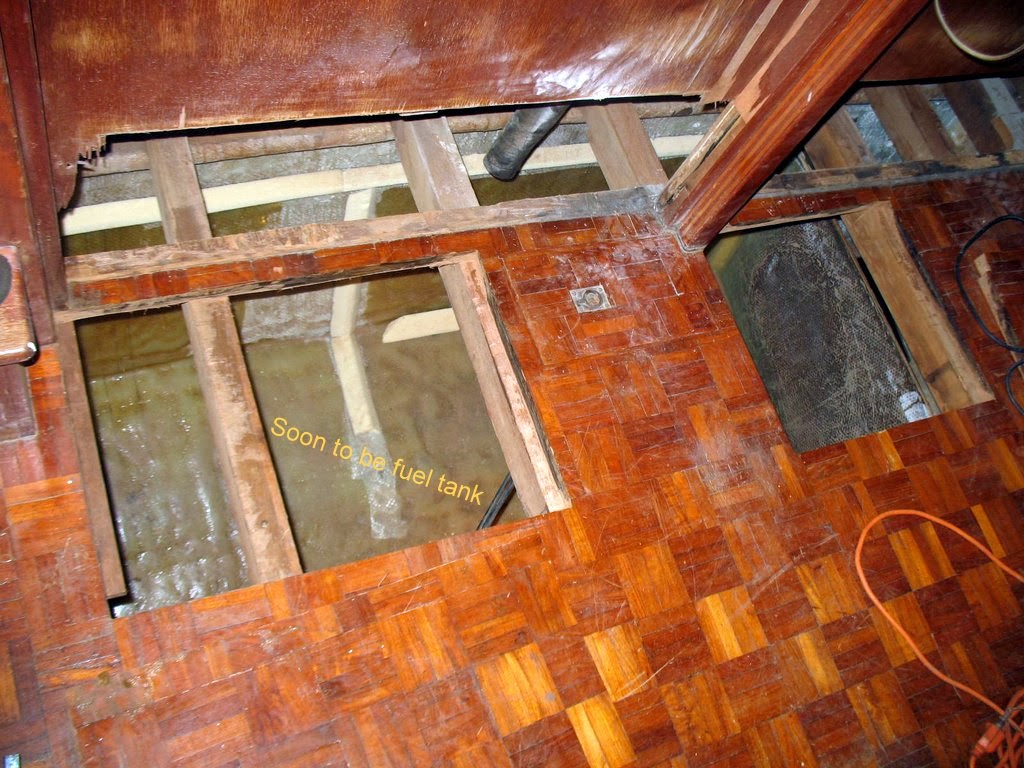
Today I started on the starboard fuel tank top. Yesterday I cut holes in the cabin sole of the main cabin.
The top of the fuel tank will be 12 inches below the Cabin Sole, lots of good storage space. Good place to stick a compressor/condenser unit for the Freezer or Main Cabin AC. I plan to make the inboard side wall of the tank come all the way up to the cabin sole. This will provide support for the cabin sole as well as divide to engine room from the storage space.
A view down through the aft access.
I have not finished the tank yet. You are looking at the floor and aft end of the tank.
Here is the top for the starboard tank with 2 layers of combo-mat on both sides. In this picture you can see the vacuum bagging film covering the glass work. I cover the glass work before it sets to keep the finished surface from contacting the air. The resin I am using does not have any wax in it, so the cured resin will still be tacking for days. If you excluded the air then it sets hard. You can buy resin with wax in it to accomplish this. The problem with the wax is that you have to grind it all off to get a good bond with any glass work you attach to it....So no wax, the vacuum bag sheet does the trick for most of it. The problem is in getting all the air bubbles out....
Same top with the plastic removed, ready to trim the edges.

I am using 1/2" thick Power-ply as the "core" of the walls and top of the tanks. I have given the sheets in this picture one coat of resin in preparation for glassing. They are yet to be cut to size. I just coat them with any extra resign I have left over while glassing.


No comments:
Post a Comment